


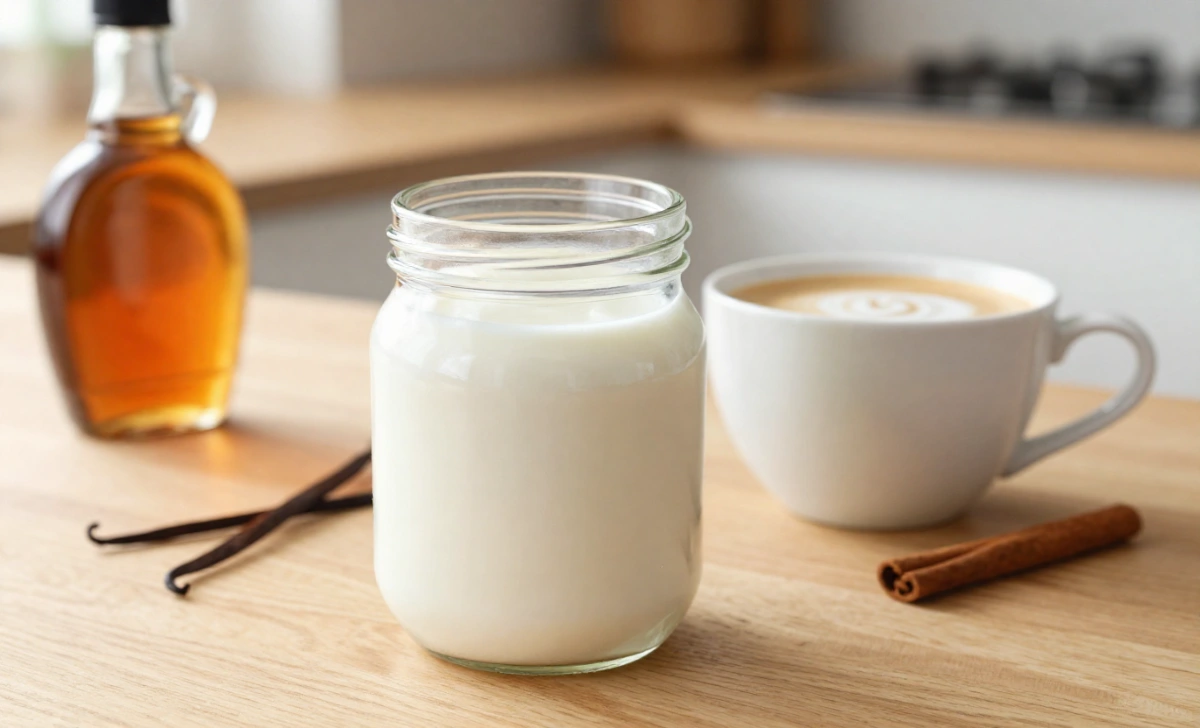
Homemade coffee creamer takes less than five minutes to make and uses ingredients you likely already have. The basic formula is one cup of half-and-half, a tablespoon of your preferred sweetener, and any flavoring you want to add. Shake it in a jar, store it in the fridge, and it stays fresh for up to ten days.
The biggest advantage over store-bought versions is control. You choose the sweetness level, the base, and the flavor, with no artificial additives. Most commercial creamers contain ingredients like carrageenan, hydrogenated oils, and artificial flavors to extend shelf life. When you make your own, you get a fresher, richer result every single time.
Have you ever flipped a bottle of store-bought coffee creamer over and actually read the label? Ingredients like dipotassium phosphate, carrageenan, and partially hydrogenated oils are not exactly what you want in your morning cup. Yet for years, those bottles lined the fridge door like clockwork, week after week.
Making your own homemade coffee creamer changes that completely. It takes five minutes, costs less, and tastes noticeably better. Once you try it, the store version feels unnecessary. This guide walks you through the exact formula, the best flavor combinations, how to go sugar-free without losing taste, and what to do when something goes wrong.

What Store-Bought Creamer Actually Contains
Pick up a popular brand of flavored creamer, and you will find water, corn syrup, vegetable oil, and a long list of stabilizers and artificial flavors. These ingredients are there to keep the product shelf-stable and mixable, not to improve your coffee.
A simple side-by-side comparison makes the difference clear. A homemade vanilla creamer has four ingredients: half-and-half, maple syrup, vanilla extract, and milk. A common store brand of vanilla creamer lists over fifteen ingredients, including mono and diglycerides, sodium stearoyl lactylate, and natural and artificial flavors.
Cost is worth noting, too. A name-brand creamer bottle runs about five to six dollars and lasts roughly a week for a daily coffee drinker. A homemade batch using half-and-half, whole milk, and maple syrup costs about half that. Heavy cream, which is the same ingredient that makes dishes like one-pan chicken alfredo so rich, is often already in your fridge. If you have a carton left over from dinner, this is a smart way to use it up before it turns.
The Simple Formula for Homemade Coffee Creamer
You only need two components to get started: a creamy base and a sweetener. From there, you add flavor. The ratio that works consistently is one cup of your chosen base and one tablespoon of sweetener. Start there, taste it, and adjust.
Choose Your Base
Your base determines how rich and creamy the final result tastes. Here are the most practical options:
- Half-and-half: The best starting point. It gives a velvety texture without being too heavy.
- Heavy cream and whole milk: Mix half and half if you do not have half-and-half. Same result.
- Whole milk alone: Works fine, but thinner. Good if you want something lighter.
- Full-fat oat milk: A solid dairy-free option. Creamy, neutral in flavor, and mixes well.
- Canned coconut milk: Rich and thick, with a slight coconut flavor. Works well for chocolate or caramel variations.
Choose Your Sweetener
The sweetener you choose changes both the flavor and how well the creamer mixes. These are the most reliable options:
- Maple syrup: Dissolves instantly, even in cold liquid. Adds a subtle warmth without overpowering the coffee.
- Honey: Bold flavor. Works well with cinnamon or chai combinations, but can overpower a plain coffee base.
- Simple syrup: Equal parts sugar and water, heated until dissolved. Mixes cleanly and adds no extra flavor.
- Medjool dates: Blend two pitted dates into your base for a rich, natural sweetness. Takes a bit more effort but delivers a caramel-like result.
- Sweetened condensed milk: Rich and sweet. Best used as half the base mixed with regular milk, not on its own.
Flavor Combinations That Actually Work
Once you have your base and sweetener sorted, flavor is where you can get creative. A few combinations stand out for how well they translate into coffee.
Vanilla is the most versatile. Add one teaspoon of real vanilla extract or vanilla bean paste to your base. Use the real thing if you can; it tastes cleaner and more aromatic than imitation extract.
For a cinnamon version, mix a quarter teaspoon of ground cinnamon with a small amount of hot water to form a paste before stirring it into the base. Skipping this step leaves clumps of cinnamon floating in your mug.
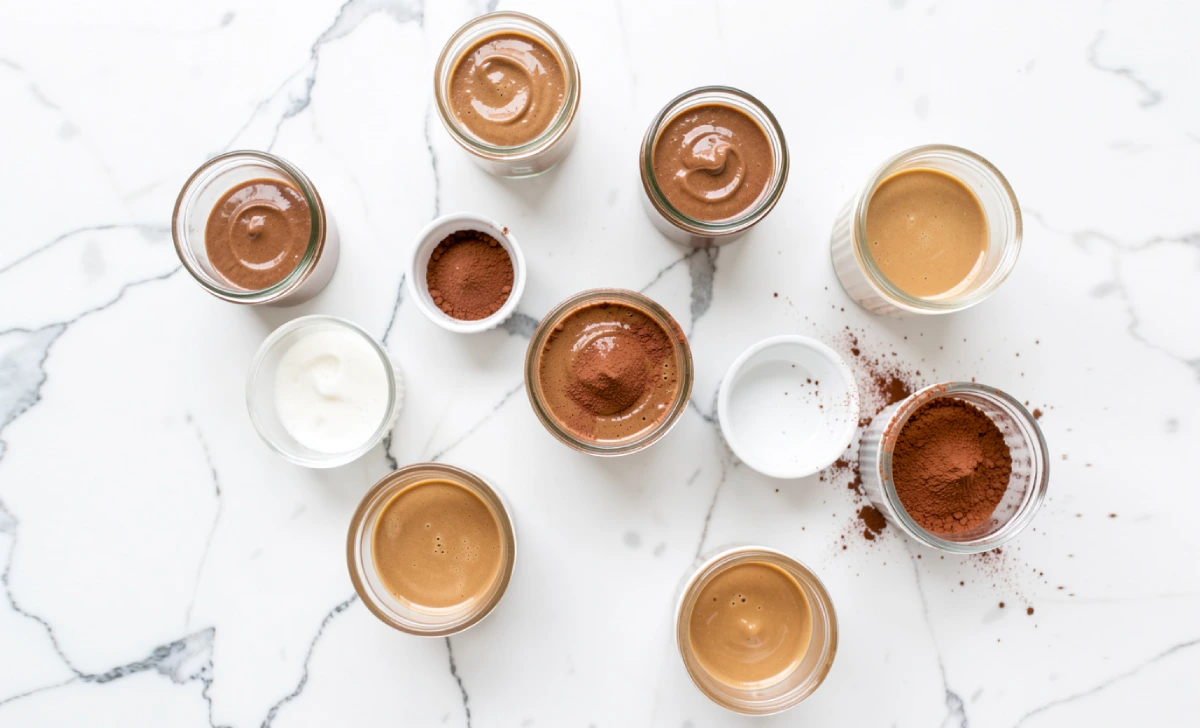
A mocha mint variation uses one tablespoon of unsweetened cocoa powder, prepared the same way with the hot water slurry technique, plus a quarter teaspoon of peppermint extract. Start with just a drop of peppermint; it is much stronger than it seems.
For something more complex, toast a handful of pecans in a dry pan, simmer them gently in the creamer base for fifteen minutes, then strain them out and stir in brown sugar. It tastes like autumn in a jar.
That instinct for building flavor from a short list of ingredients carries across all kinds of cooking. If you enjoy experimenting beyond your morning cup, jade venison follows the same principle: distinct flavors, simple technique, results that feel more complex than the process suggests.
How to Go Sugar-Free Without the Aftertaste
This is one of the most searched questions around homemade coffee creamer, and it has straightforward answers. The trick is choosing a sweetener that dissolves properly in cold liquid and does not leave a bitter finish.
Monk fruit sweetener works well here. It has zero calories and dissolves cleanly without the metallic aftertaste that some other substitutes carry. Allulose is another good option. It behaves similarly to sugar in liquid and mixes without issue.
If you prefer a whole-food approach, blending two Medjool dates into a cup of your base gives you a naturally sweet, thick creamer with no refined sugar at all. It is slightly higher in natural sugar than monk fruit, but it is completely unprocessed.
Avoid using powdered stevia directly into cold liquid. It tends to clump. If stevia is your preference, warm the creamer base slightly before adding it and whisk until fully dissolved.
How to Store Homemade Coffee Creamer
Because there are no preservatives in a homemade batch, it will not last six months in the fridge. That is actually a good sign. Store it in a clean glass jar with a tight lid, and it keeps well for seven to ten days with a dairy base.
Give the jar a good shake before each use. The ingredients separate naturally as they sit, which is normal. If you are using a shelf-stable plant-based milk like oat or almond milk, the creamer will last as long as that milk’s open shelf life, typically seven to ten days as well.
If you notice a sour smell or the creamer curdles when it hits hot coffee before mixing, throw it out. In practice, most batches get used up long before they have a chance to go bad.
Troubleshooting: When Something Goes Wrong
Even simple recipes have their off days, though homemade creamer is far more forgiving than most kitchen projects. Unlike something like fojatosgarto, where technique really shapes the result, creamer mistakes are almost always fixable with one small adjustment. Here is what to look for and how to fix it.
- Grainy or clumpy texture: You added a powder like cocoa or cinnamon directly to cold liquid. Always make a slurry first with a small amount of hot water before stirring it in.
- Creamer is too thin: Use a higher-fat base. Whole milk alone will not give you the texture of half-and-half. Swap in heavy cream or use full-fat coconut milk for a richer result.
- Flavor is too weak: Let the creamer sit in the fridge overnight before using it. Flavors intensify as they meld. Add sweetener in small stages rather than all at once.
- Creamer curdles in coffee: Your coffee may be too hot or too acidic. Let it cool for a minute before adding cold creamer. Lighter roasts tend to be more acidic. Try a darker roast or add a small pinch of baking soda to your creamer to balance the acidity.
- The flavor is too strong: Peppermint and almond extracts are very concentrated. Start with one drop, not a quarter teaspoon. You cannot take it out once it is in.
FAQs
Is homemade coffee creamer cheaper than store-bought?
Yes, in most cases. You are paying for milk, cream, and a sweetener, which are pantry staples. You are not paying for packaging, marketing, or chemical stabilizers. If you use premium ingredients like organic vanilla bean paste or raw honey, the cost gets closer, but you are still getting a higher-quality product.
How long does homemade coffee creamer last in the fridge?
With a dairy base, plan on seven to ten days. With a dairy-free base like oat or almond milk, it will last roughly as long as that milk would have lasted once opened. Always check for a sour smell before using it.
Why does my homemade creamer curdle in coffee?
Two things usually cause this. Your coffee might be too hot, which causes the cold dairy to shock and separate. Let it cool for sixty seconds first. The second cause is acidity. Light roast coffees are more acidic and can cause dairy to split. Switching to a medium or dark roast usually solves it. A small pinch of baking soda stirred into the creamer can also help.
What is the best base for homemade coffee creamer?
Half-and-half gives the most balanced result: creamy without being too rich. If you want something dairy-free, full-fat oat milk is the closest in texture and flavor. Canned coconut milk works well, but adds a light coconut taste, which suits certain flavor pairings better than others.
Can I use homemade creamer in iced coffee?
Yes, and it often works better than the store-bought version because it is less thick and syrupy. Pour the creamer into the glass first, add ice, then pour the coffee over the top and stir. The cold temperatures help it mix more evenly.